

Why netting matters
The mesh windows keep kids visible and contained — it's a safety feature, not cosmetic. Torn or detached netting takes a unit out of service until it's fixed. Replacing it properly is a common, high-value repair.
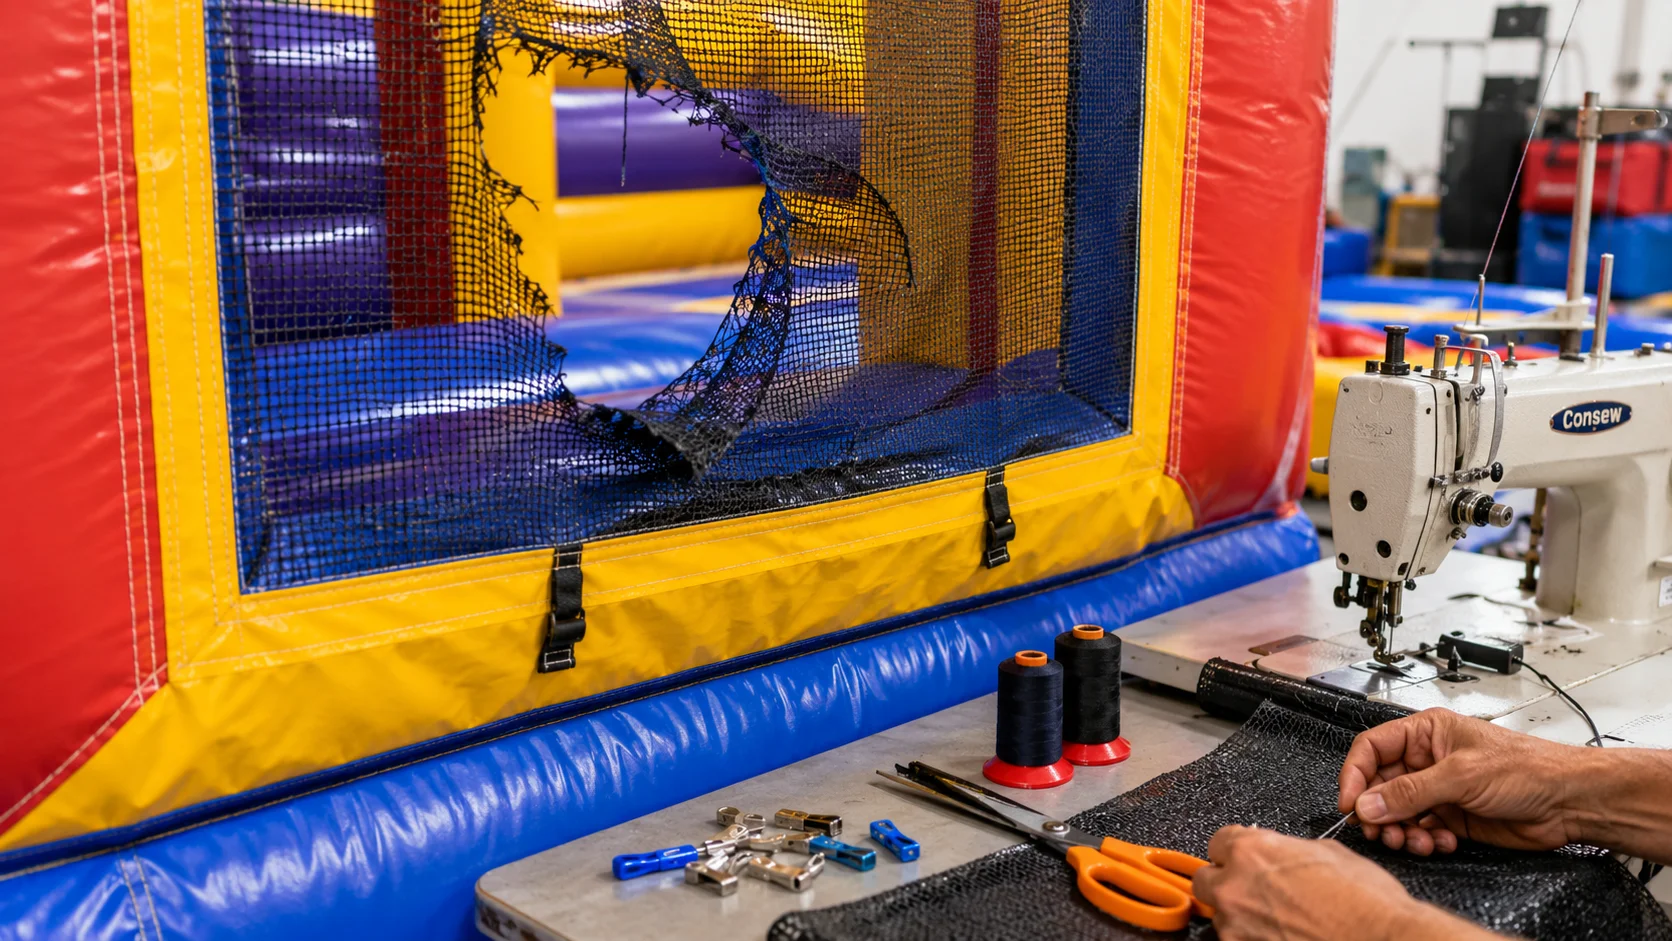
The mesh windows keep kids visible and contained — it's a safety feature, not cosmetic. Torn or detached netting takes a unit out of service until it's fixed. Replacing it properly is a common, high-value repair.
First determine whether the mesh failed or the stitching failed.
Restitching may be enough when the safety mesh is still intact and the edge has simply pulled loose from the vinyl border.
Replace the panel when the mesh itself is torn, stretched, brittle, or damaged in several places. Sewing a ripped piece of mesh back to the border does not restore the failed material.
When replacing netting, use commercial safety mesh appropriate for inflatable containment and visibility. Match the original construction as closely as possible rather than substituting household screen or decorative mesh.
Before cutting new mesh, study how the original netting was installed. Note the opening shape, overlap, stitch path, and where the corners carry load.
Cut the replacement with enough material to follow the original seam path without stretching the mesh tight just to make it reach. Over-tensioning the panel can put unnecessary pull on the corners and border.
Zip ties, household screen, hand-sewn patches, and decorative mesh are not substitutes for a proper safety-netting repair. Netting is part of the containment system of the unit. When the material has failed, replace it with suitable mesh and reinstall it correctly.
Removing worn mesh and stitching in new safety netting.
Cut the damaged mesh out along the original stitch area and remove loose thread that would interfere with the new panel. Preserve the surrounding vinyl border.
Before installing new mesh, make sure the border itself is still sound. If the vinyl is torn or the seam has failed, repair that structure first.
Use suitable commercial safety mesh and follow the original opening and seam allowance. Keep the panel aligned to the opening rather than pulling it into shape.
Hold or secure the mesh so it stays even around the full opening. Check the corners before sewing the perimeter.
Use the walking-foot machine and follow the original installation pattern. Keep the mesh flat and controlled as the vinyl border feeds through the machine.
Corners and edge transitions take concentrated pull. Finish the repair cleanly, inspect the full perimeter, and make sure no loose mesh or failed border remains.
Safety mesh designed for containment and visibility — replace like-for-like, not with decorative material.
For a durable, safe repair you want a walking-foot machine and heavy thread, especially at the stress-bearing corners.
Corners concentrate stress — reinforce and back-tack them on reinstall.
Learn every inflatable repair — hands-on class, online course, and the machine that makes it possible.