
FixMyInflatable — inflatable repair training
CallGet Pricing

How to Patch a Bounce House Hole (Step-by-Step)

To patch a bounce house hole: clean and dry the area, cut a rounded vinyl patch about 2 inches larger than the damage on all sides, apply vinyl adhesive to both the patch and the unit, press it down from the center outward to force out air, and let it cure under weight. A glued patch handles most small holes and tears; larger tears and seam or baffle damage need to be stitched.
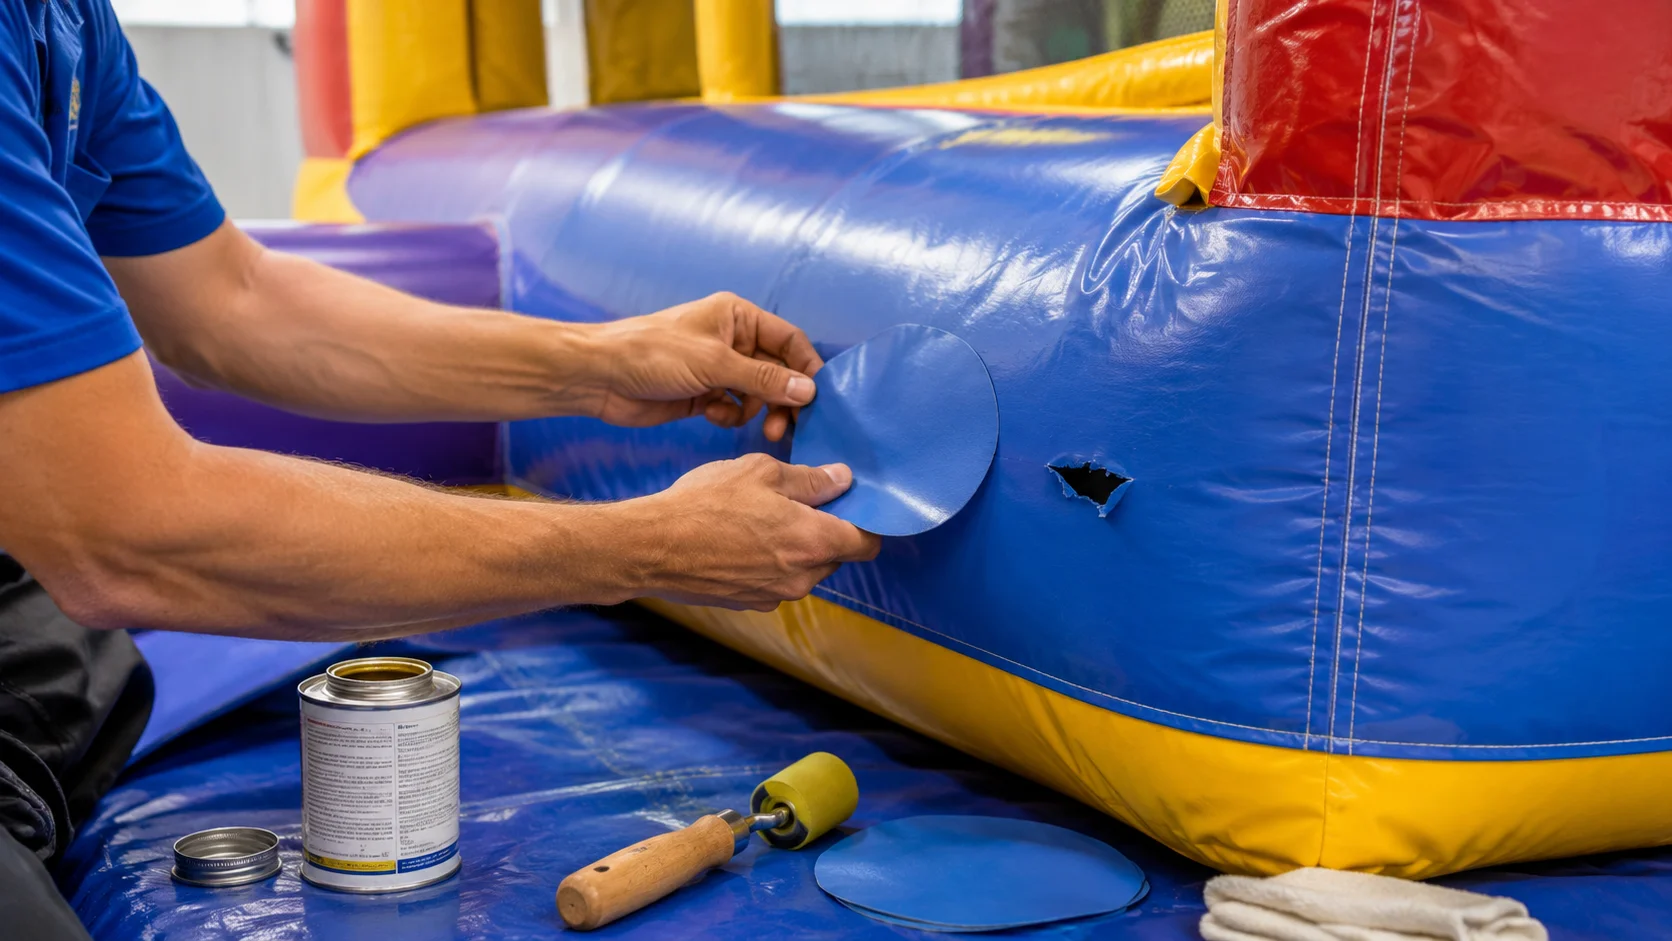
Patching a hole in a bounce house with a vinyl patch

What you'll need

A matching piece of commercial vinyl, vinyl adhesive (a solvent-based vinyl cement made for coated fabrics), a seam roller or hard hand roller, isopropyl alcohol or a vinyl cleaner, scissors or a rotary cutter, and a marker. For anything structural, you'll also want access to a walking-foot sewing machine.

Glue vs. stitched repair — which do you need?

A glued patch is ideal for small holes and clean tears in low-stress areas. High-stress spots — seams, stitched joints, jump surfaces, anchor points, and baffles — flex constantly and will pull a glued-only patch loose. Those need to be stitched with a walking-foot machine and heavy thread, usually stitched and sealed. If the damage is on or near a seam, longer than a few inches, or on a load-bearing area, plan to stitch it.

How to make it last

Keep patches out of direct fold lines when you roll the unit, clean and dry units before storage, and re-inspect repaired areas each season. A properly glued or stitched patch on commercial vinyl can outlast the surrounding material.

How to patch a bounce house hole

Glued vinyl patch repair for a hole in a low-stress area.

  1. Step 1
    Clean and dry the area

    Deflate the unit and wipe the damaged area and a few inches around it with alcohol or vinyl cleaner. Any dirt, mildew, or moisture will stop the adhesive from bonding. Let it dry fully.

  2. Step 2
    Cut a rounded patch

    Cut your patch so it overlaps the hole by at least 2 inches on every side, and round the corners — square corners peel first. Cut a matching color for a cleaner look.

  3. Step 3
    Glue both surfaces

    Apply a thin, even coat of vinyl adhesive to the back of the patch and to the unit. Follow the adhesive's flash/tack time before joining — rushing this is the most common reason a patch fails.

  4. Step 4
    Press from the center out

    Lay the patch down and press firmly from the center outward with the roller, forcing out every air bubble. Trapped air is a weak spot that will lift.

  5. Step 5
    Cure under weight

    Set a flat weight over the patch and let it cure per the adhesive instructions (often several hours to overnight). Don't inflate and use the unit until it's fully cured.

Frequently asked questions

How long does a bounce house patch last?

A properly applied patch on a low-stress area can last for years — often the life of the unit. High-stress areas need stitching to hold.

What glue should I use?

A solvent-based vinyl adhesive/cement made for coated PVC fabrics. Avoid general craft or super glues — they won't stay flexible.

Can I patch it while it's inflated?

No — deflate it so the surface is flat and relaxed, or the patch will wrinkle and lift once the air pressure changes.

When should I stitch instead of glue?

For seams, tears over a few inches, jump surfaces, anchor points, or baffle damage.

GET PRICING NOW

Learn every inflatable repair — hands-on class, online course, and the machine that makes it possible.