
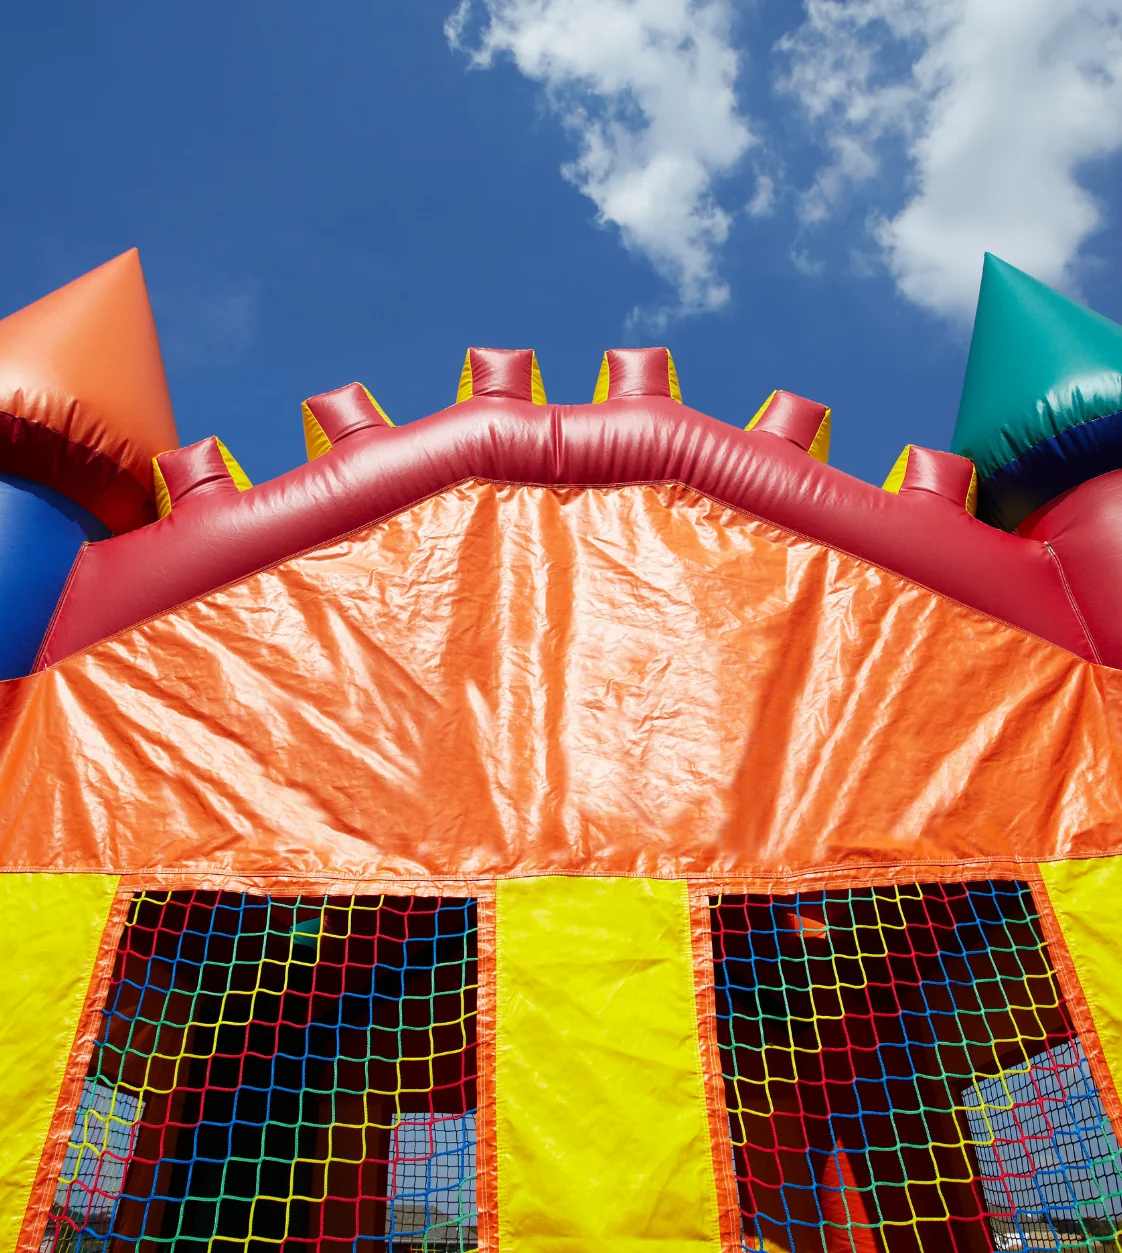
High-wear panels
Climb walls, pop-throughs, and squeeze points wear first — panels thin and split under constant traffic.
For Rental Operators · Nationwide
High-wear panels, long seams, and stress points at every climb and turn — here's how inflatable obstacle course repairs are done, and how to keep your units rental-ready.
⭐ 5.0 on Google · Trusted by rental operators nationwide
Climb walls, pop-throughs, and squeeze points wear first — panels thin and split under constant traffic.
Obstacle courses have more linear seam than almost any unit; any weak point becomes a tear.
Anchor points, handholds, and transitions take repeated load and need reinforcement, not just restitching.
Tunnel and window mesh tears out and gets restitched into the vinyl border.
Internal walls lose air-shape on big units; opened through a seam and restitched from inside.
On an obstacle course, reinforcement matters as much as the repair itself. The unit fails at the same high-traffic spots over and over, so a good repair rebuilds the seam AND adds material to survive the next season.
Every structural repair runs on a heavy-duty walking-foot machine that can feed vinyl and stack layers. Household machines skip and burn out on this work.
Reinforcing a seam at a high-traffic stress point so it survives repeated load.
Obstacle courses concentrate traffic at transitions. Riders climb, crawl, squeeze, turn, and land in the same places over and over. That creates a different wear pattern from a basic jumper.
Climb areas see repeated pulling and foot pressure. The seam where a climb panel meets the surrounding structure can take load from several directions, and the transition at the top or bottom may need more than a simple restitch if the surrounding material has started to wear.
Upright obstacles and squeeze-through sections get pushed, grabbed, and folded from different directions. Inspect the attachment seam around the base and the surrounding panel, not just the visible tear.
Tunnel edges and mesh openings flex every time a rider enters or exits. Torn netting, loose border stitching, and worn vinyl around the opening should be evaluated as one repair area.
A long obstacle course carries traffic across a much larger footprint. When a seam starts to open, follow the stitch line beyond the visible failure so you do not repair six inches of a problem that continues another two feet.
Before starting a repair, inflate the unit and walk the full rider path.
Closing a tear is not always the same as fixing the reason it failed. When a climb, turn, or squeeze point repeatedly loads the same seam, the repair may need to spread that load across a larger area.
That is where repair training matters: real obstacle-course repair is diagnosis plus stitching. The goal is to understand why the same spot failed before simply sewing the opening closed.
Every repair on this page is something you can do in-house with the right training and the right machine. Bring repairs in, protect your rental days, and add a repair income stream by fixing other operators' units too.
Most repairs are seam restitching and panel reinforcement on a walking-foot machine, plus patching holes and replacing torn mesh. The key is reinforcing the high-traffic spots so they don't fail again.
Climb walls, pop-throughs, and transitions take repeated concentrated load. Without reinforcement, the same seams and panels reopen — which is why a good repair adds material, not just stitches.
Often yes — a reinforcement layer stitched over a worn but intact panel extends its life. Fully split or rotted panels get replaced.
Yes — a heavy-duty walking-foot machine with a cylinder arm. The long seams and stacked layers are too much for a household machine.
Learn the repairs, get the machine, and keep every unit in rotation.